Tired of buying duplicate ingredients and rummaging to find what you need? You can get your messy pantry organized—for less than you probably think.
Quick links:
#Step 1: Inventory your pantry
The first step in getting your pantry into shape: list out all your pantry items, and identify excess and expired goods.
Remove all food items from your pantry storage space. Place them on the kitchen counter, on the floor, or wherever you need to put them. As you do so, write each item on a list. You can use paper, or you can enter them in a spreadsheet if you are technologically minded (the spreadsheet will allow you to sort them alphabetically, which can be nice).
For example, write down all food products, including such attributes as pasta shape, broth and sauce varieties, baking ingredients such flour and sugar, canned goods, etc. Note duplicate items.
This process will give you a birds-eye view of the sheer scope and variety of your pantry’s inventory. You’ll identify where you may have been spending more than you needed to on items you already own, and you’ll avoid purchasing extras in the future.
As you catalog everything, you can implement the following:
- Wipe down pantry shelves and clean any spills or sticky messes.
- Get rid of expired items.
- If you have more than you will use of a product, give the excess away to a neighbor, a food bank, or a family in need.
Armed with a list of all your stuff, you are ready to implement an organization system, and your clean, empty pantry is ready to receive it.
Step #2: Use containers
You’re not going to just cram items back onto your clean pantry shelves. For many products, especially bulk goods, you’ll use containers to organize them.
Buy some clear plastic or glass containers from Savvy and Sorted, the Container Store, or the Dollar Tree. Plastic containers are less expensive, but glass keeps your food fresher (and there is some evidence that exposure to plastics is bad).
The main thing is you want transparent containers that allow you to see what’s inside them at a glance.
Consider the following to maximize every inch of your pantry space:
- Uniform sizes of containers allow you to neatly line up canisters and bins. This makes retrieving and replacing items quick and easy.
- Use wide mouth food storage containers for bulk foods like sugar, pasta, and rice for easy scooping
- Deep containers are ideal for baking ingredients and breakfast staples such as flour, rolled oats, granola, and cereal. An iris-style opening makes it simpler to grab what you need.
- Choose sealable containers that match the volume of the contents too. Large tubs for big bulk bags of rice or flour, smaller containers for spices, and vertical narrow bins for oils and dressings. Properly sized storage ensures no wasted space.
Step #3: Labels
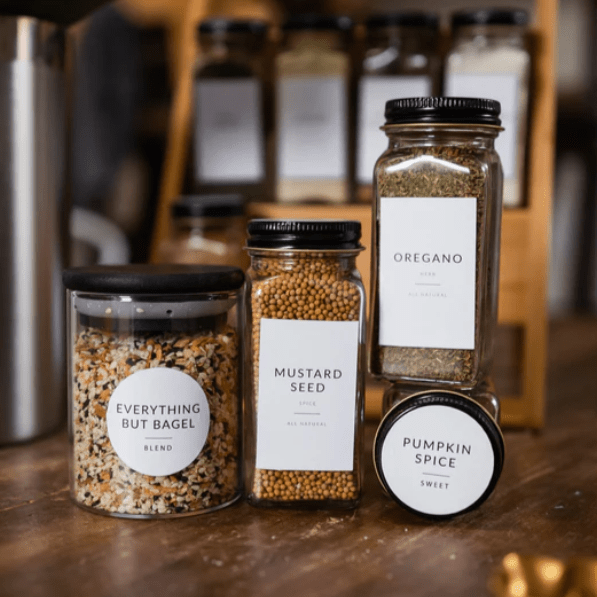
No pantry organization project is complete without a coherent labeling system. It allows easy identification of what’s in each container, keeps order, and eliminates waste. Uniform, neat labels contribute to an orderly-looking pantry that's a pleasure to cook from and maintain.
Your first step is to decide on a labeling system. Here are your options:
- Tape and Sharpie. This is your cheapest option—and the least elegant.
- Chalkboard labels. Buy cute chalkboard labels and liquid chalk markers for a timeless aesthetic. These are adorable, and you can reuse them if you change out what’s in a container.
- Preprinted pantry labels. You can buy a set of pantry labels that covers all your pantry needs. For example, our Minimalist Pantry Labels set includes 179 pre-printed labels that cover all the main pantry categories. We also offer a set of 146 spice labels for all your spices.
With a good labeling system, you’re well on your way to a transformed pantry. Now it’s time to look at your pantry’s configuration.
Step #4: Have a pantry organization system
Now that you have labeled your jars and containers, it is time to group your pantry items according to some schema that makes sense to you.
Here are some ideas for grouping:
- By food categories. Group ingredients into broad categories like baking goods, grains, canned goods, oils and vinegar, snacks, etc.
- By cuisine type. Create cuisine-based groups like Mexican, Italian, Asian, or Indian pantry sections.
- By meal components. Group foods that get used together, such as pasta with sauce fixings, soup bases with beans and broths, or a breakfast nook with cereal, oats, and toppings.
- By frequency of use. Place most-used daily staples on the eye-level shelf. Lesser-used and specialty items go up high or down low.
- Container compatibility. Harmonize storage methods like wide-mouth jars for bulk goods, narrow dispensers for oils, and hanging racks for onions and bananas.
Step #5: Use the right shelving and dividers
Your pantry already has shelving, most likely. But is it optimal? If you see any unused space, you know you can do better. Sturdier, adjustable shelving will customize your pantry and help you clear the mess.
Storage racks, shelves, and small bins help items from becoming a jumbled mess, hard to see, or reach what you need. Here are some storage helpers you can use:
- Tiered storage racks double space for canned goods, baking supplies, sauces, and more.
- Pantry shelving creates separate sections for types of food.
- Spinning spice racks keep small jars accessible yet tidy.
- Bins to corral snacks, nuts, and dry goods.
- Hang utensils inside pantry doors to save shelf space.
- Wire baskets can be used as catchalls.
- Get vertical with wall-mounted racks for pot lids, cutting boards, foil, etc.
- Additional hooks on your pantry walls.
- Wooden baskets for snacks to save space and avoid mess.
- A tea organizer is also a great storage idea for keeping small items—such as baking powder and tea bags—organized.
Dividers also bring orders to packed shelves without breaking the bank. We love these amazing ideas, probably you’ll too:
- Stackable bins positioned vertically become makeshift partitions, seamlessly separating spaces.
- Repurposed magazine holders horizontally split shelves into adjustable compartments.
- Martha Stewart up some cardboard separators covered in chic contact paper or fabric.
- Utensil organizers corral stray tools into neat rows inside jam-packed drawers.
How to organize a pantry with limited space?
A bit of clever organizing can transform a tiny pantry.
- Scope out any wasted gaps to fill with extra shelving.
- Mount corner racks or wall-mounted units to introduce new storage planes.
- Utilize vertical space above the fridge with stacking baskets.
- Evaluate the backsides of doors—they offer prime, often overlooked space.
- Swap out deep cabinets for shallow drawers so items don't get buried.
- Install a tension rod for hanging woven sacs that keep foods visible.
Group ingredients and use space-conscious accessories to give tight quarters a spacious feel. In the end, add labels! Pantry labels are awesome—they add that special final touch to organizing. Plus, they look amazing.
This redditor has some great tips on how to organize your small pantry.

How to organize my walk-in pantry?
So you've got a spacious walk-in pantry. But without some savvy storage strategies, all that potential can become wasted real estate filled with disorganized ingredients and lost foods.
Here are some steps you can follow:
- Start by taking everything off the shelves and sorting ingredients into categories—baking essentials, breakfast foods, canned goods, etc.
- As you restock, think vertical—add extra shelves up high and utilize vertical dividers to create organized zones for each grouping.
- Install a few slide-out racks at the back so you don't lose track of what's hiding behind the cereal boxes.
- Spinning lazy susans make perfect use of those hard-to-reach corners.
And don't forget the finishing touch—a cohesive labeling system so you and the whole family can find what you need in a pinch!
Pantry ideas FAQ
What can I use for a pantry if I don't have one?
If you don't have an official pantry space, there are still great options for designating storage:
- Install shelving units in a closet or kitchen cabinet
- Use a cabinet with drawers near the kitchen
- Try a rolling cart
- Place a small bookshelf against an empty wall for extra square footage
- Stack jars that slide out or use hanging wall-mounted rails
Get creative repurposing furniture like dressers into makeshift pantries. Find any unused areas in or near the kitchen where you can customize affordable organizational solutions to build your own.
How do I organize my kitchen pantry without baskets?
Great pantry organization does not require baskets. Alternative affordable tools include stackable containers, shelves with dividers, over-the-door racks, and slide-out drawers.
You can also repurpose shoe organizers or photo storage bins to neatly group ingredients. Or install extra shelves at staggered heights and use vertical space wisely.
Make sure to label clear jars with chalkboard stickers for an organized aesthetic. You will get designated zones in your existing cabinet for categories such as baking goods, breakfast items, pasta, etc.
How can I organize without buying anything?
You can make a big difference to your pantry even if you don’t spend a dime. You’ll resort to clever repurposing and rearranging of items already on hand.
Take inventory and group ingredients into categories—pasta with pasta, all baking items together, snacks in one area, and so on.
Contain small goods in available vessels like glass jars, teacups, or empty yogurt containers with lids. Insert cardboard pieces or books to create customized dividers between zones.
What do you put in baskets in the pantry?
Pantry organization baskets have many versatile uses for neatly compartmentalizing all types of ingredients to eliminate clutter.
- Clear containers are ideal for housing small items like spice jars and seasoning packets.
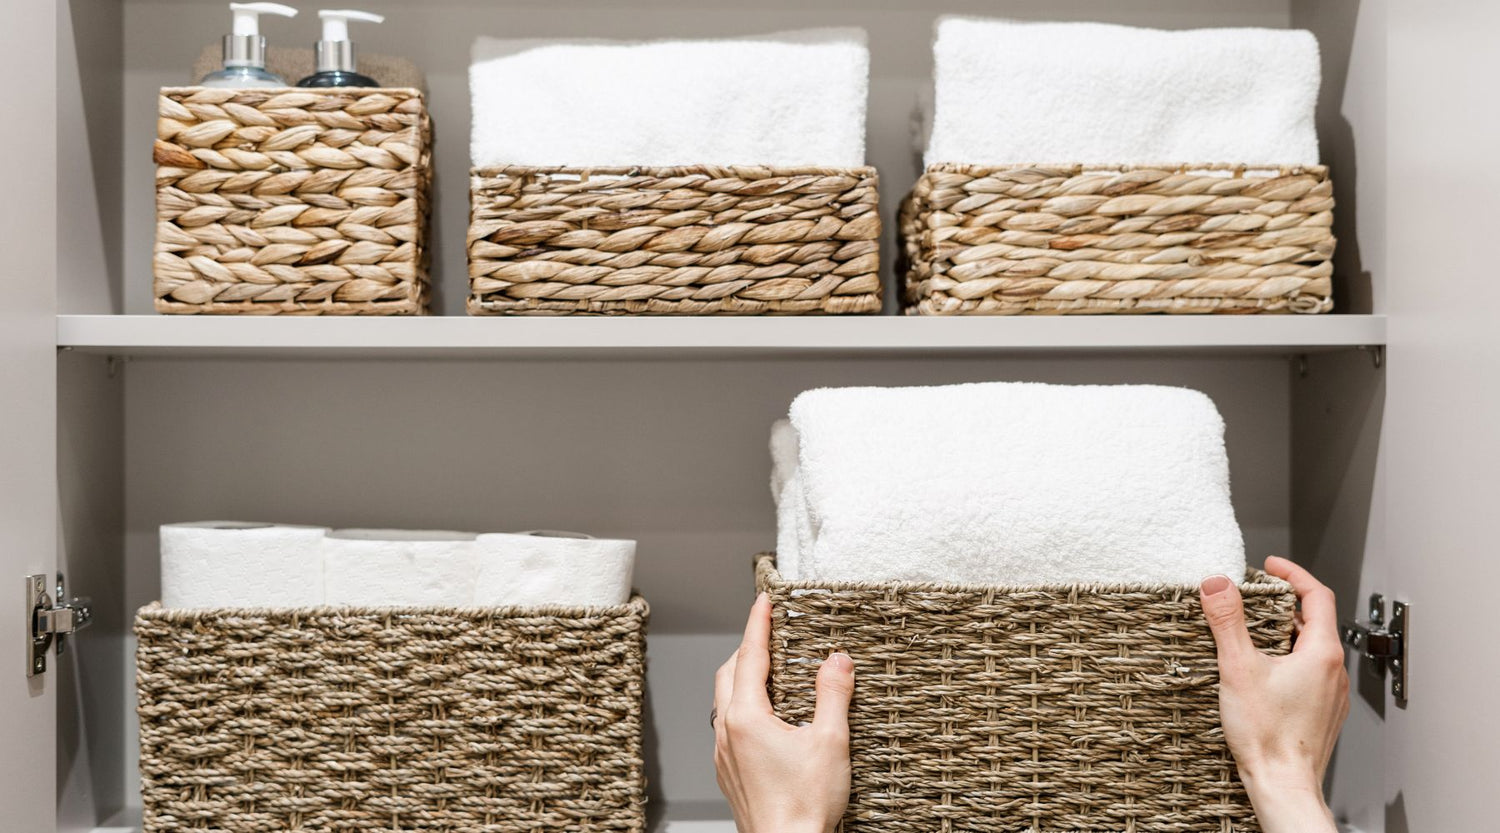
- Larger basket bins are extremely useful for stowing bulk dry goods together by category to save time locating them—keep all rice varieties in one bin, and baking supplies like flour and sugar in another designated container.
- Shallower baskets suit snacks beautifully. For canned goods or taller boxed items like crackers or pasta, deeper baskets make the perfect home.
How do you organize pantry bins?
Here are some tips on how to organize your pantry bins:
- Designate precise zones tailored around your household's cooking and eating patterns.
- Assign bin purposes like “breakfast items” for cereals, granola bars, and oats and group corresponding products together in that container.
- Wide, flat bins suit assorted snacks and bagged goods perfectly.
- Gain needed height for canned soups or baking mixes by using stackable bins in that area.
- Clear see-through bins easily allow identification of what’s inside without labels.
- Adhere removable chalkboard labels to the exterior to mark categories.
- Maintain order within bins by adding smaller organizers or dividers when beneficial.
- Check expiration dates during restocking to prevent ingredients from getting lost and expiring.
How can I organize my pantry with deep shelves?
For deep pantry shelves, install slide-out shelves and vertical dividers to reach items in the back without everything toppling over. Spinning lazy susans and tiered racks maximize vertical capacity. Use matching container sizes to shelf depth maintains tidiness.


